
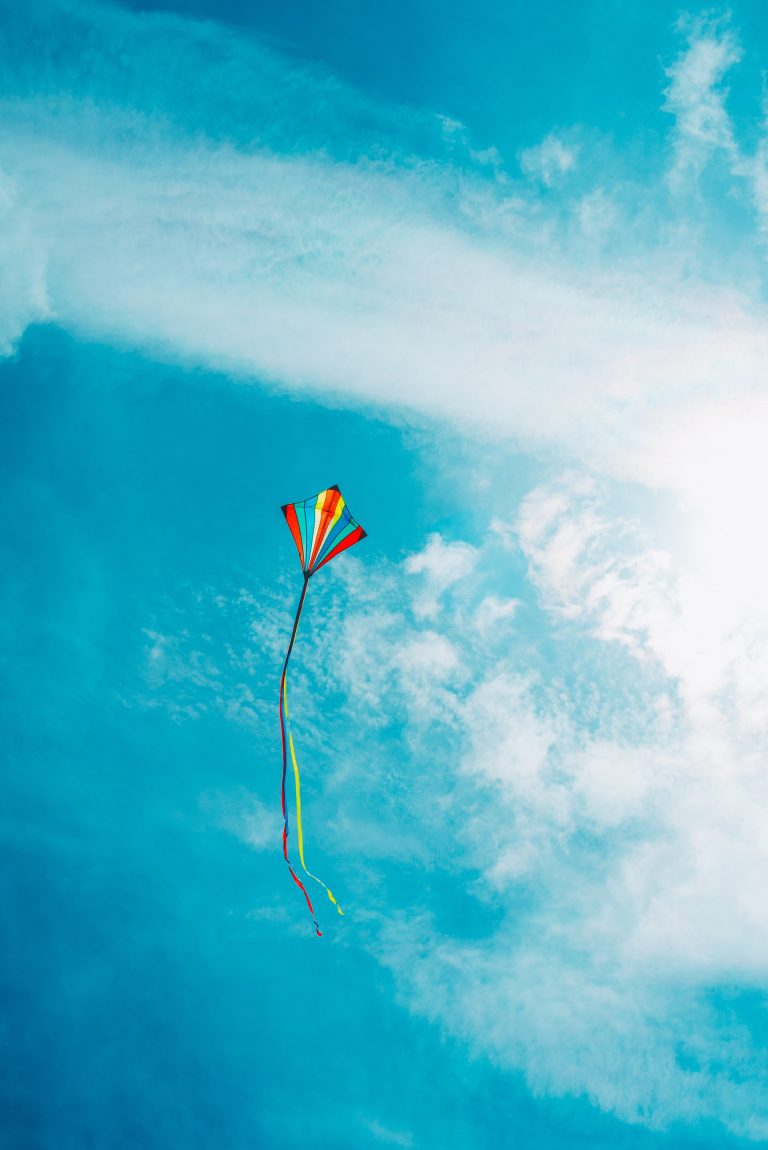
Who thinks that the crafting of a paper kite is reserved only for the small earth citizens, is wrong. Just because one is an adult, does not mean that we are not allowed to be children anymore! 🙂

Childhood memory reloaded
Autumn is here. The days become cooler and shorter. It gets windier and the last hours of sunshine are used for walks in the fresh air. Childhood memories are awakened: of the paper kite made with daddy himself, which was never missing on our autumn walks.
The story of the paper kites is quickly told: A little bamboo and precious silk and already one of the first kites that appeared in China in the 5th century B.C. was ready and ready to take to the air. Often revered by Asians as a symbol of luck, kites still have a central significance today, for example at the Japanese New Year festival. In Europe, the kite as a toy for children finally made its final appearance at the beginning of the 18th century.
Simple concept, great effect
A dragon is or can be a simple construct: A pole, rods made of bamboo, wood, aluminum, fiberglass, or plastic material, is often knotted together into a cross or fastened in some other way. The whole thing is covered with paper, sailcloth, cotton, hemp, or other cloth. Even foils are suitable. Now and then a tail is an advantage. Finally, of course, a string is needed. Because the kite sometimes has quite a pulling power, you can’t just hold the string or line in your hands. A so-called reel (spool) completes the kite. And ready is the kite. Of course, there are also much more elaborate kites or even elaborate kits. We stick to the very original, child-friendly version. For our DIY paper kite it does not need much:
- two solid sheets of paper (colored or white, DIN A4 or DIN A3)
- a few meters of strong yarn
- a small wooden stick, about 5 cm long and 1 cm thick
- colored crepe paper
- a sewing needle
- colored pencils or watercolors
- Scissors
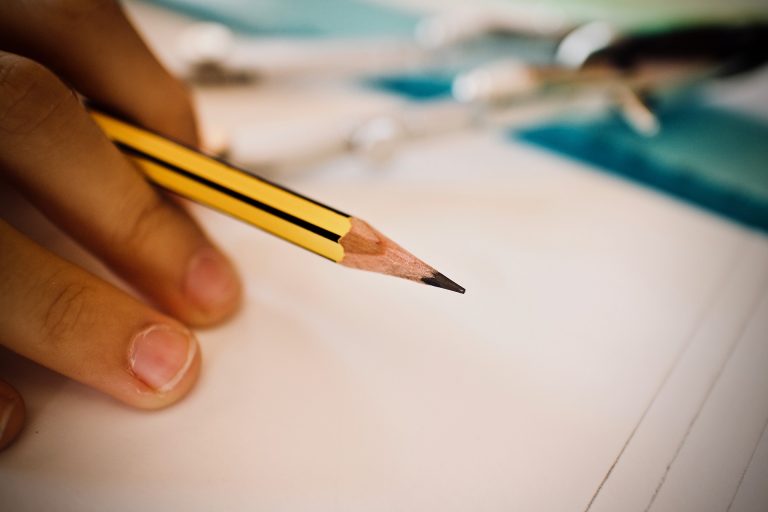
- Ruler and pencil
- Adhesive


Step by step to your own kite
- Draw the outline of the dragon on the sheet of paper and cut it out.
- Paint the kite as you wish – there are no limits to your imagination!
- From the second sheet of paper cut two 1cm wide paper strips, one 12cm long, the other 16cm long. Fold and bend both strips lengthwise and cut them in the middle so that you can put them into each other in the next step.
- Now glue the longer paper strip to the longitudinal axis of the kite and then the shorter strip perpendicular to it. Cut off the protruding ends of both strips.

- Thread a piece of yarn (length: approx. 80 cm) with the needle through the back of the kite and tie a knot.
- Cut the colorful crepe paper into small rectangles (2 x 5 cm). Fold them into small accordions and knot them to the kite string, which should be at least one meter long. To prevent the kite from flying away, tie the kite string to the wooden stick – this way the string can be rolled up easily.
- Now you can take the finished kite tail and knot it at the lower tip of the kite at the back of the glued paper strip. Et voila: Your self-made paper kite is ready!